


“A camera is a save button for the mind’s eye.” Ever capture a breathtaking sunset, only to find the image on your screen lacks the vibrancy and clarity of the real thing? That’s where photo editing comes in. Just like a chef seasons their dish, we use sharpening and noise reduction to enhance our photos, bringing them closer to the memory we hold.
Understanding the Basics: Sharpening and Noise Reduction
Before we jump into the techniques, let’s clarify what these two processes are:
Sharpening: Bringing Back the Details
Think of sharpening as highlighting the edges in your photo. It emphasizes the contrast between pixels, giving the illusion of increased sharpness. Too much, and your image will look grainy; too little, and it’ll appear soft.
Noise Reduction: Smoothing Out the Imperfections
Noise appears as those pesky grain-like textures, especially in low-light images. Noise reduction minimizes these distractions, resulting in a cleaner and more polished look.
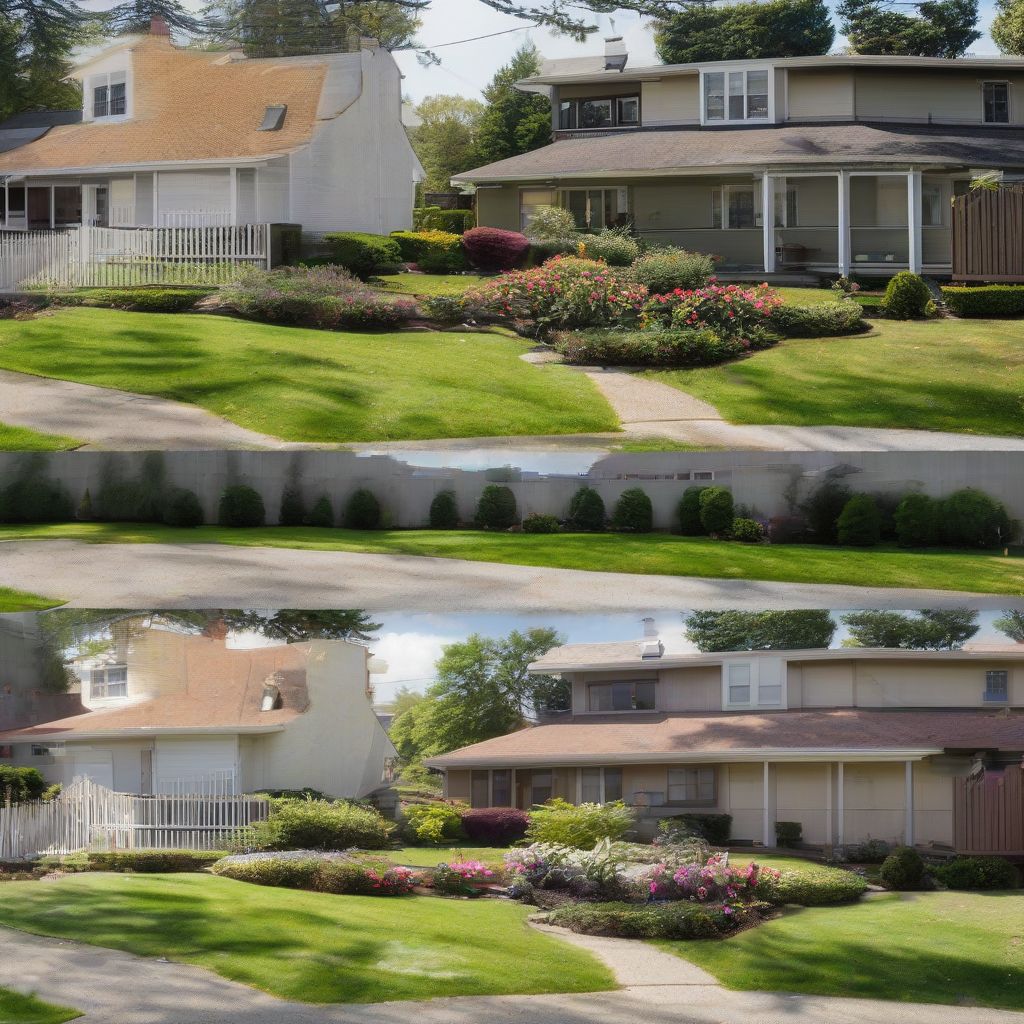
 Sharpening and Noise Reduction Comparison
Techniques for Sharpening Your Photos
1. Unsharp Mask: The Classic Approach
This deceptively named tool is a favorite amongst photographers. It identifies edges by creating a blurred version of your image and comparing it to the original. The differences are then sharpened, making details pop.
Pro Tip: Start with low settings and gradually increase until you achieve the desired sharpness.
2. High Pass Filter: Precision Sharpening
Want more control? The High Pass filter lets you target specific areas for sharpening.
How it Works:
- Duplicate your image layer.
- Apply the High Pass filter with a low radius.
- Change the blend mode to “Overlay” or “Soft Light.”
3. Clarity Slider: Enhancing Midtone Contrast
Found in most editing software, the Clarity slider is perfect for adding subtle definition and punch to your images, particularly portraits. Be careful not to overdo it, as it can exaggerate blemishes.
Techniques for Noise Reduction
1. Luminance Noise Reduction: Taming the Grain
This method tackles the most common type of noise – luminance noise, which affects the brightness values of your image. It smooths out the grain while preserving detail.
2. Color Noise Reduction: Removing Unwanted Specks
Color noise often appears as unsightly colored pixels. This technique targets and neutralizes these color irregularities, resulting in a cleaner image.
3. Masking: Protecting Important Details
When applying noise reduction, be mindful of crucial areas like eyes, hair, or textures that you want to preserve. Masking allows you to apply noise reduction selectively, protecting those vital details.
Choosing the Right Software
While there are numerous options available, here are three popular choices:
- Adobe Photoshop: The industry standard, offering advanced tools and customization options.
- Adobe Lightroom: Perfect for photographers needing a streamlined workflow for both editing and organizing photos.
- Skylum Luminar: A powerful alternative with AI-powered tools for quick and effective edits.
Tips for Achieving Natural-Looking Results
- Shoot in RAW: RAW files capture more image data, giving you greater flexibility during editing.
- Zoom In and Out: Regularly assess your edits at different zoom levels to ensure they look natural.
- Don’t Overdo It: Remember, subtlety is key. Over-sharpening or excessive noise reduction can lead to artificial-looking images.
- Practice Makes Perfect: Experiment with different techniques and software to find what works best for your editing style.
Conclusion
Mastering sharpening and noise reduction techniques empowers you to transform your photos, bringing out their hidden potential. By understanding these tools and using them thoughtfully, you’ll enhance the details that matter while minimizing distractions. Remember, the goal is to create stunning images that reflect your vision and captivate your viewers.
So, go ahead and breathe life into your photos. Sharpen those edges, smooth out the grain, and let your creativity shine! We’d love to hear your thoughts and experiences in the comments below. Happy editing!