


Have you ever watched a movie and been captivated by its stunning visuals, wondering how they make every scene look so… cinematic? Well, the secret lies not just in expensive cameras and lighting, but also in the magic of post-processing. And guess what? You don’t need a Hollywood budget or a film degree to achieve a similar aesthetic in your own photos.
Whether you’re a photography enthusiast looking to elevate your travel snapshots or a blogger wanting to add a touch of drama to your food photography, these post-processing tips will help you unlock that coveted cinematic look.
Understanding the Cinematic Look
Before we dive into the how-to, let’s define what we mean by “cinematic.” It’s not just about slapping on a filter and calling it a day. A cinematic look evokes emotions and tells a story. Think:
- Cinematic Colors: Rich, evocative colors with a hint of nostalgia. Think muted tones, warm highlights, and cool shadows, often with a specific color palette that enhances the mood.
- Depth and Dimension: Images aren’t flat; they have a sense of depth, achieved through strategic lighting and focus. Subjects pop against the background, drawing the viewer’s eye.
- Storytelling Composition: Each element in the frame is intentionally placed to guide the viewer’s gaze and enhance the narrative.
Post-Processing Tips to Bring Your Photos to Life
1. Choose the Right Software
While there are many photo editing apps available, Adobe Lightroom and Photoshop are industry standards for a reason. They offer powerful tools and unparalleled control over your images.
2. Shoot RAW for Maximum Flexibility
Shooting in RAW format gives you the highest quality image data to work with during editing. This is crucial for achieving subtle color grading and detailed adjustments without compromising image quality.
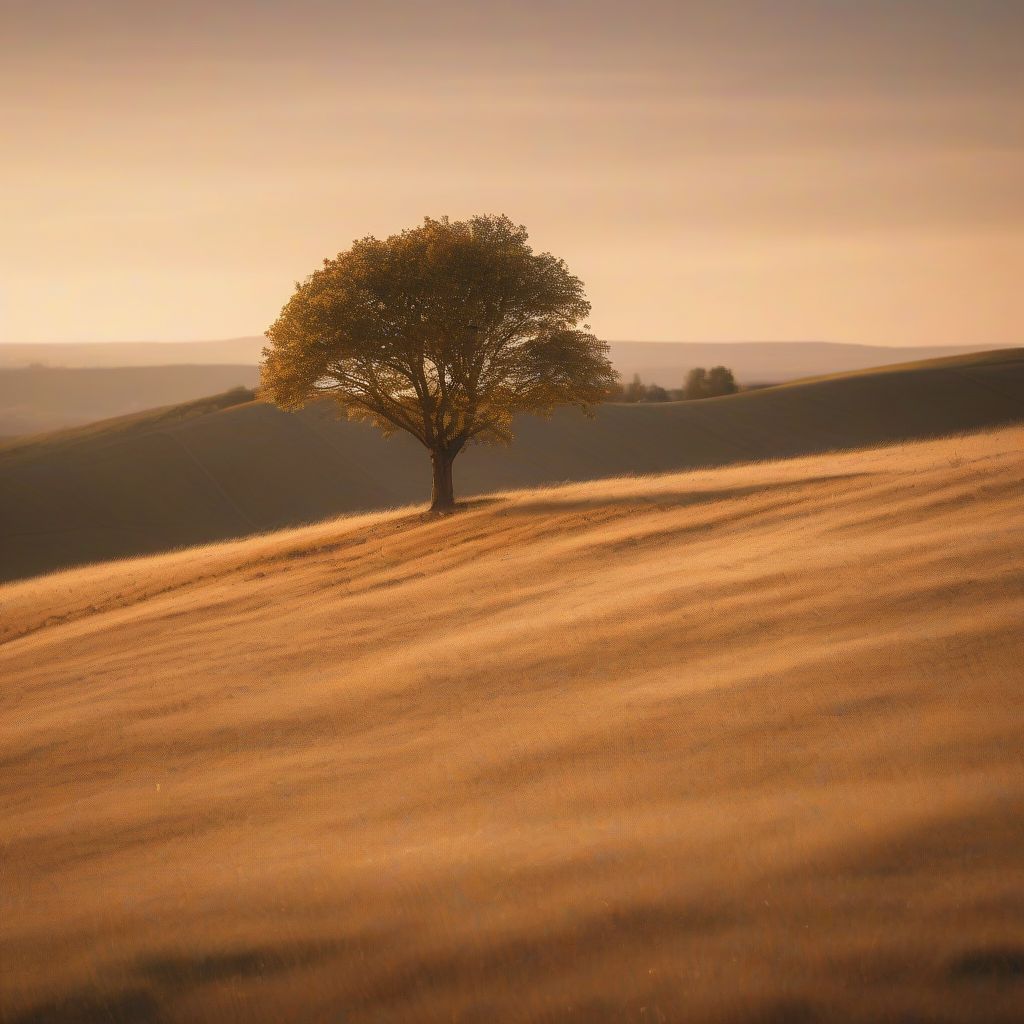
 Cinematic Landscape Photography
3. Master the Art of Color Grading
- Color Temperature: Adjust the overall warmth or coolness of your image to set the mood. Warmer tones are inviting, while cooler tones evoke mystery or drama.
- White Balance: Correct any color casts and ensure whites are truly white. This creates a neutral starting point for your color grading.
- HSL Sliders: Fine-tune individual colors. For example, boost the oranges and reds for a warm sunset, or enhance blues and greens for a tranquil landscape.
- Color Grading Tools: Experiment with split toning, color wheels, and LUTs (Lookup Tables) to apply pre-defined cinematic color palettes.
4. Shape with Light and Shadow
- Exposure and Contrast: Adjust the overall brightness and contrast to enhance the mood. Lower contrast can create a dreamy effect, while higher contrast adds drama.
- Highlights and Shadows: Recover details in blown-out highlights or crushed shadows. This helps balance the image and creates a more natural look.
- Dodge and Burn: Selectively lighten or darken areas of your image to emphasize specific elements or direct the viewer’s attention.
5. Enhance Depth and Dimension
- Clarity and Texture: Subtly increase clarity and texture to bring out details without making the image look overly processed.
- Vignetting: Add a subtle vignette to darken the edges of the frame, drawing the viewer’s eye to the center of the image.
- Depth of Field: Use the “Lens Correction” or “Transform” tools to correct distortion.
- Artificial Depth of Field: If you’re shooting with a limited aperture, you can create a shallower depth of field in post-processing using tools like the “Lens Blur” filter in Photoshop.
 Cinematic Portrait Photography
6. Perfect Your Composition
- Cropping and Straightening: Don’t be afraid to crop your image to improve composition and remove distracting elements. Straighten any crooked horizons for a more polished look.
- Rule of Thirds: Place your subject off-center for a more dynamic composition. Imagine your image divided into nine equal parts by two horizontal and two vertical lines. Position your subject along these lines or at their intersections.
- Leading Lines: Use natural lines within the image, such as roads, fences, or rivers, to guide the viewer’s eye toward your subject.
7. Don’t Overdo It!
The key to a cinematic look is subtlety. Avoid pushing the sliders to the extreme. It’s easy to get carried away with editing, but over-saturated colors, excessive sharpening, or unrealistic effects can make your photos look artificial.
8. Develop Your Style
As you experiment with these tips, you’ll begin to develop your own unique cinematic style. Don’t be afraid to break the rules and trust your creative instincts.
Conclusion
Achieving a cinematic look in your photos is a journey, not a destination. By mastering these post-processing techniques and understanding the principles of visual storytelling, you can elevate your photography and captivate your audience. Remember, the most important ingredient is your creativity. So go out there, experiment, and have fun bringing your cinematic vision to life!
Now, it’s your turn! What are your favorite post-processing techniques for creating cinematic photos? Share your tips and tricks in the comments below!