


Have you ever looked at a professional photograph and wondered how they achieved those stunning, vibrant colors? It’s not magic, it’s color grading! This powerful post-processing technique can transform your images from ordinary to extraordinary. Whether you’re a complete beginner or aspiring to edit like a pro, this comprehensive guide will equip you with the knowledge and tools to master color grading.
Understanding Color Grading: More Than Just a Filter
Before we dive into the how-to, let’s clarify what color grading is and why it’s crucial for photographers of all levels. Color grading is the process of adjusting the colors in your photo to achieve a specific mood, style, or look. It goes beyond simply applying a filter; it’s about manipulating hues, saturation, luminance, and more to craft a visual story.
Think of color grading as the final touch of artistry. Just like a chef uses spices to enhance flavors, photographers use color grading to enhance emotions and convey narratives through their images.
Essential Tools for Color Grading
You don’t need a fancy studio to color grade like a pro; all you need is the right software. Here are some popular options:
- Adobe Lightroom: A favorite among photographers for its user-friendly interface and powerful color grading tools.
- Adobe Photoshop: Offers advanced color correction features and greater control for complex edits.
- Capture One: Known for its excellent color handling and tethered shooting capabilities.
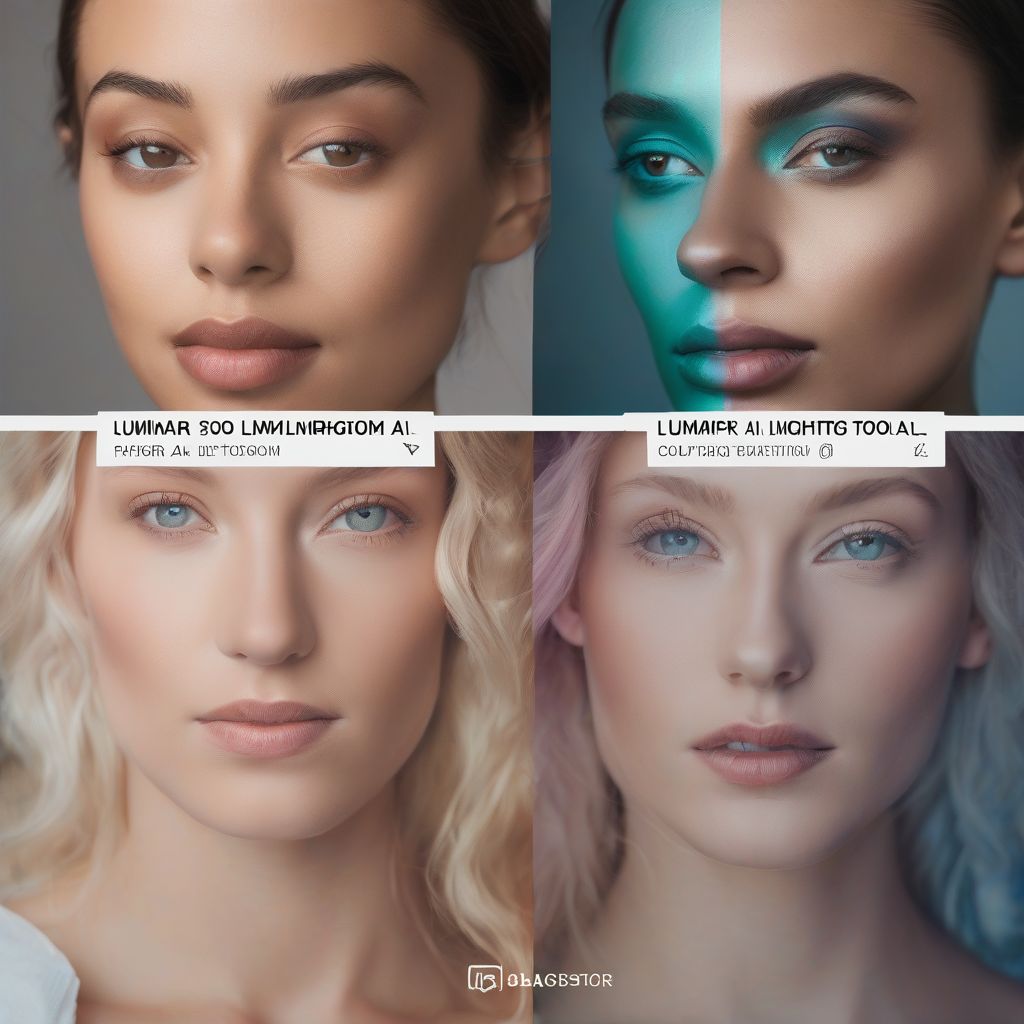
- Luminar AI: Combines AI-powered tools with traditional color grading options for a more intuitive workflow.
 Color Grading Software Options
Mastering the Fundamentals: Key Color Grading Concepts
To confidently navigate the world of color grading, it’s essential to grasp these fundamental concepts:
1. White Balance: Setting the Tone
Imagine shooting a portrait under warm, incandescent lighting. Your camera might capture a yellowish tint, making your subject look unnatural. White balance corrects this by neutralizing the colors and ensuring they appear as they do in real life. Most editing software allows you to adjust white balance using a slider or by selecting a preset.
2. Exposure and Contrast: Illuminating Your Vision
Proper exposure ensures your photo has the right amount of light. Too dark, and you lose details; too bright, and you risk overexposure. Contrast dictates the difference between the darkest and lightest parts of your image, adding depth and dimension.
3. Color Wheel 101: Understanding Hues and Saturation
The color wheel is your playground for creative color adjustments.
- Hue: Represents the pure form of a color (e.g., red, blue, green).
- Saturation: Refers to the intensity of a color. High saturation results in vivid colors, while low saturation creates a muted effect.
4. Curves and Levels: Fine-tuning Like a Pro
These tools provide more control over the brightness and tonal range of your image.
- Levels: Allow you to adjust the shadows, midtones, and highlights independently.
- Curves: Offer greater precision for fine-tuning specific tonal ranges.
From Drab to Fab: Step-by-Step Color Grading Workflow
Now, let’s put these concepts into action with a simple yet effective color grading workflow.
Step 1: Start with a Solid Foundation
Before color grading, ensure your photo is properly exposed and cropped. Adjust white balance to create a neutral starting point.
Step 2: Define Your Vision
Ask yourself: What mood or emotion do I want to evoke? What story am I trying to tell? Having a clear vision will guide your color choices.
Step 3: Experiment with Basic Adjustments
Begin by experimenting with the exposure, contrast, highlights, and shadows sliders. Observe how these adjustments impact the overall mood of your image.
Step 4: Dive into Color Correction
Use the color wheel, HSL (Hue, Saturation, Luminance) panel, or color balance tools to fine-tune specific colors. For instance, you might want to enhance the warmth of a sunset or cool down the tones of a winter scene.
Step 5: Master the Art of Subtlety
The key to professional color grading is subtlety. Avoid over-saturating colors or making drastic adjustments that appear unnatural.
Step 6: Compare and Refine
Regularly compare your edited image to the original to ensure you’re moving in the right direction. Don’t be afraid to experiment and make adjustments until you achieve your desired look.
Advanced Techniques: Elevating Your Color Grading Game
Once you’re comfortable with the basics, explore these advanced techniques:
- Split Toning: Create a unique look by applying different color tones to the highlights and shadows. For example, warm highlights and cool shadows can add a vintage feel.
- Color Grading with Layers and Masks: Isolate specific areas of your image using layers and masks to apply color adjustments selectively. This technique is useful for enhancing specific elements, like the sky or a subject’s clothing.
- Creating and Using Presets: Save time by creating your own presets or using those made by professional photographers. Presets serve as a starting point for your edits and can be customized to suit your style.
Color Grading Inspiration: Finding Your Style
Developing your unique color grading style takes time and practice. Here are some tips to find inspiration:
- Study Cinematography: Pay attention to the color palettes and moods used in movies and TV shows. Analyze how color grading enhances storytelling.
- Follow Professional Photographers: Observe the work of photographers whose styles you admire. Pay attention to their use of color and try to identify techniques you can incorporate into your own work.
- Embrace Experimentation: Don’t be afraid to try new things and break the rules. The more you experiment, the more you’ll discover your unique style.
Conclusion: Unleashing the Power of Color
Color grading is an essential aspect of photography, empowering you to transform ordinary images into captivating visual stories. By understanding the fundamental concepts, mastering the tools, and continually seeking inspiration, you can elevate your photography and develop a signature style that sets your work apart. Remember, practice makes perfect, so keep experimenting and have fun exploring the endless possibilities of color.