


“Photography is the art of painting with light,” or so the old adage goes. As a beginner photographer, you’ll quickly learn how true this is! Understanding light and how to use it is essential for capturing stunning photos. This beginner’s guide will walk you through the nuances of shooting in different lighting conditions, equipping you with the knowledge to confidently tackle any scene.
Understanding the Basics: It’s All About the Light
Before diving into specific lighting conditions, let’s cover some fundamental concepts:
1. Types of Light
- Natural Light (Sunlight): This is the light you get from the sun, and it changes constantly throughout the day. Early morning and late afternoon offer softer, warmer light, while midday sun is harsh and can create strong shadows.
- Artificial Light: This refers to any light source that isn’t the sun, like lamps, overhead lights, streetlights, or even your phone screen.
2. Qualities of Light
- Direction: Where the light hits your subject dramatically affects the mood and dimension of your photo. Front lighting (light behind you) is flattering but can appear flat. Side lighting adds drama and texture, while backlighting creates a beautiful glow and silhouette.
- Intensity: This refers to how bright or dim the light is. Bright sunlight will require different camera settings than a dimly lit room.
- Color Temperature: Light has different colors, measured in Kelvin (K). Daylight is generally cooler (bluer), while incandescent light is warmer (yellower).
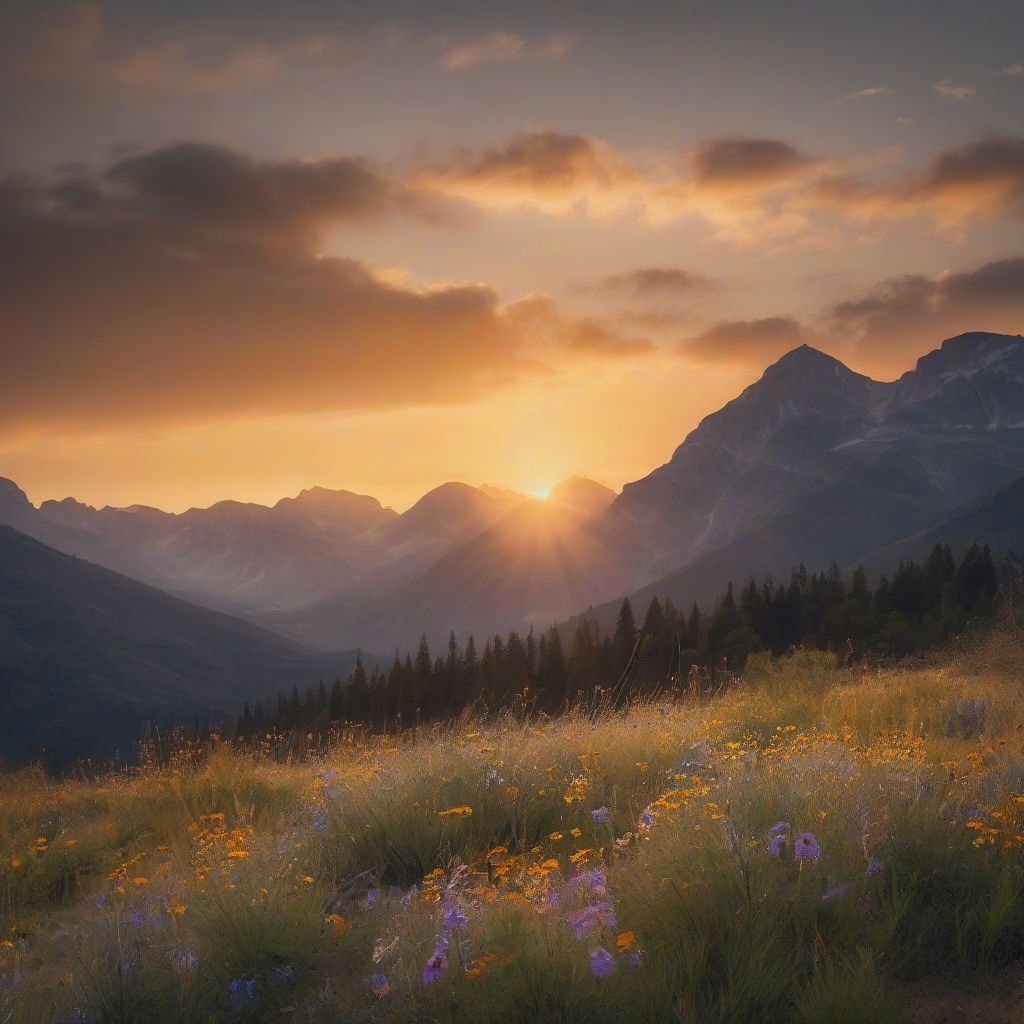
 Golden Hour Photography
Mastering Different Lighting Conditions
Now that you understand the basics, let’s explore how to approach shooting in various lighting situations:
1. Golden Hour: The Photographer’s Best Friend
Golden hour (shortly after sunrise and before sunset) offers that magical, soft, warm light that photographers adore.
- Tips for Shooting in Golden Hour:
- Plan Ahead: Golden hour is short, so arrive early to scout your location.
- Use a Diffuser or Reflector: Even during golden hour, you can use a diffuser to soften the light or a reflector to bounce light back onto your subject.
- Experiment with Backlighting: This is a fantastic time for backlit portraits and landscapes.
2. Blue Hour: Embrace the Moodiness
Blue hour (just before sunrise and after sunset) bathes the world in cool, ethereal light.
- Tips for Shooting in Blue Hour:
- Use a Tripod: Since there’s less light, you’ll need a longer shutter speed.
- Increase ISO: Don’t be afraid to bump up your ISO to capture enough light, but be mindful of noise.
- Embrace the Blues: The cool tones of blue hour can create a serene and even melancholic atmosphere.
3. Overcast Days: Soft Light’s Gift
Don’t shy away from cloudy days! Overcast skies act as a giant softbox, diffusing light evenly.
- Tips for Shooting on Overcast Days:
- Look for Contrast: Since the light is even, you’ll need to find other ways to create visual interest, such as using leading lines, textures, or contrasting colors.
- Embrace the Mood: Overcast days are perfect for capturing a calm, serene, or even dramatic mood.
4. Harsh Sunlight: Taming the Midday Sun
Midday sun can be challenging, with its intense brightness and harsh shadows.
- Tips for Shooting in Harsh Sunlight:
- Seek Shade: Find open shade (like under a tree) to get softer light on your subject.
- Use a Fill Flash: A flash can help fill in shadows and create a more balanced exposure.
- Experiment with Shadows: While harsh shadows can be distracting, they can also add drama and dimension if used intentionally.
5. Indoor Lighting: Making the Most of What You Have
Indoor lighting can be tricky, but with a bit of creativity, you can still capture great photos.
- Tips for Shooting Indoors:
- Find the Light: Position your subject near a window to utilize natural light.
- Adjust White Balance: Indoor lights can cast a yellow or orange hue. Adjust your white balance to compensate.
- Use Props and Backgrounds: Get creative with your surroundings to add visual interest.
 Indoor Photography
Essential Equipment for Different Lighting Conditions
- Camera: A DSLR or mirrorless camera gives you the most control over your settings.
- Lenses: A versatile zoom lens (like an 18-55mm or 24-70mm) is a great starting point. Consider a prime lens for low-light situations or specific effects.
- Tripod: Essential for low light or when using slow shutter speeds.
- External Flash: Provides additional light and creative control.
- Reflector: Bounces light back onto your subject to fill in shadows.
- Diffuser: Softens harsh light for more flattering portraits.
Conclusion
Mastering photography in different lighting conditions is a journey, not a destination. The key is to understand the qualities of light, how it interacts with your subject, and then use your camera settings and equipment to achieve your desired look. Embrace the challenges, experiment with different approaches, and most importantly, have fun! The more you practice, the more confident you’ll become in your ability to capture stunning images, no matter the lighting.