


Have you ever been captivated by a breathtaking nightscape or a dimly lit portrait that seems to glow from within? Achieving such captivating images in low light might seem like magic, but it’s a skill any photographer can master with the right techniques and a little practice. Let’s delve into the advanced world of low light photography and illuminate the path to capturing stunning shots when the sun goes down.
Understanding the Challenges of Low Light
Before we jump into the advanced techniques, it’s essential to understand the challenges low light presents. The biggest hurdle is, of course, the lack of light itself. This can lead to:
- Noise: As you increase your ISO to compensate for low light, your images will start to show digital noise, appearing as graininess that can detract from the image quality.
- Slow Shutter Speeds: To gather enough light, you’ll need to use slower shutter speeds. This makes your camera susceptible to even the slightest movement, resulting in blurry images.
- Limited Dynamic Range: Low light scenes often have a wider dynamic range than your camera sensor can capture, leading to a loss of detail in highlights and shadows.
Essential Gear for Low Light Photography
Having the right tools can make a world of difference:
- A Camera with Good Low Light Performance: Look for cameras with larger sensors (full-frame or APS-C) and wider aperture lenses, as they perform better in low light.
- Fast Lenses: Lenses with wide maximum apertures (f/1.4, f/1.8, f/2.8) allow more light to reach the sensor, enabling faster shutter speeds and lower ISO settings.
- Tripod: An absolute must-have for low light photography, as it eliminates camera shake and allows for those long exposures needed to capture enough light.
- Remote Shutter Release: This handy tool prevents camera shake that can occur when pressing the shutter button, especially during long exposures.
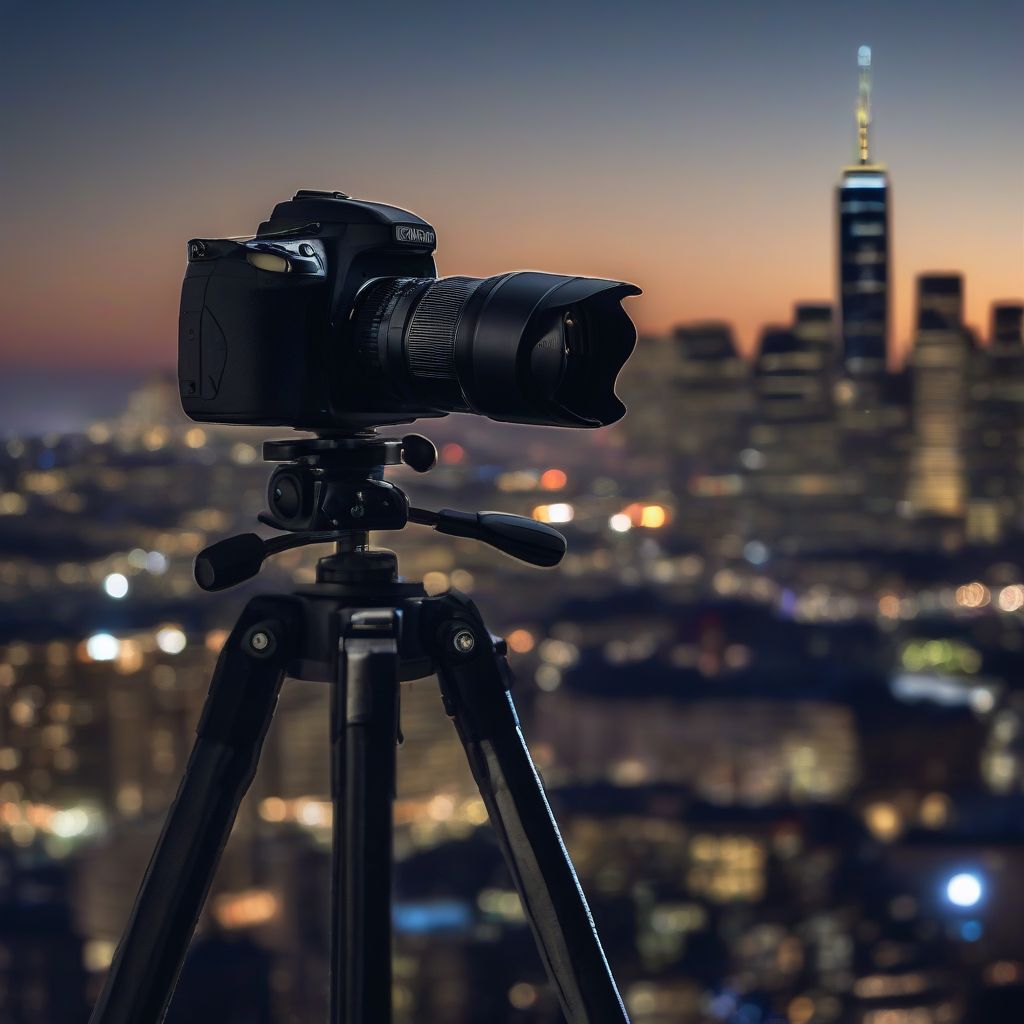
 Low Light Photography Gear
Advanced Techniques to Elevate Your Low Light Game
Now, let’s explore the techniques that will transform your low light images from average to extraordinary:
1. Master Manual Mode
While your camera’s automatic modes can be helpful, shooting in manual mode gives you complete control over your exposure settings, which is crucial in low light situations.
- ISO: Start by setting your ISO as low as possible to minimize noise, and gradually increase it until you achieve a bright enough image.
- Aperture: Choose a wide aperture (low f-number) to maximize the amount of light entering the lens. However, be mindful of your depth of field – a wider aperture results in a shallower depth of field, meaning only a portion of your image will be in focus.
- Shutter Speed: This will depend on your subject and how much light is available. For static subjects, use a tripod and a slower shutter speed to gather enough light.
2. Embrace Long Exposure Photography
Long exposures are a fantastic way to capture stunning light trails, smooth out water, and create a sense of movement in your low light images.
- Use a Tripod: Essential for sharp images during long exposures.
- Experiment with Shutter Speed: Start with a few seconds and gradually increase the duration to achieve the desired effect.
- Utilize Bulb Mode: For extremely long exposures, bulb mode allows you to keep the shutter open as long as you hold down the shutter release button (or use a remote shutter release).
3. Harness the Power of RAW
Shooting in RAW format gives you maximum flexibility in post-processing. RAW files contain all the data captured by the sensor, allowing you to recover more detail in highlights and shadows, correct white balance, and reduce noise more effectively compared to JPEGs.
4. Master Focusing in Low Light
Accurate focusing can be tricky in low light. Here’s how to nail it:
- Manual Focus: Switch to manual focus when autofocus struggles. Use focus peaking or the magnification feature on your camera to assist you.
- Use a Focus Assist Light: Some cameras have a built-in focus assist light that can help your camera lock focus in low light.
5. Explore Image Stacking
Image stacking involves taking multiple shots of the same scene and blending them together in post-processing. This technique is particularly useful for:
- Noise Reduction: By combining multiple images, you can average out the noise present in each individual shot, resulting in a cleaner final image.
- Focus Stacking: Capture multiple images of a scene at different focus distances and blend them together for an image with a greater depth of field.
6. Post-Processing is Your Friend
Post-processing plays a crucial role in low light photography. Use software like Adobe Lightroom or Capture One to fine-tune your images.
- Noise Reduction: Use noise reduction tools to minimize digital noise, especially in the shadows.
- White Balance Adjustment: Correct the white balance for accurate colors.
- Sharpening: Sharpen your images to enhance details.
 Editing Low Light Photos
Conclusion: Capture the Magic of Low Light
Mastering low light photography takes practice and experimentation, but the results are well worth the effort. By understanding the challenges, investing in the right gear, and mastering these advanced techniques, you’ll unlock a whole new world of photographic possibilities.
So, embrace the darkness, push your creative boundaries, and capture breathtaking images that truly shine, even when the light is low. Now, go out and experiment! Share your stunning low light creations with us in the comments below. We can’t wait to see what you capture.